At the 2015 Esri UC I put the Open Data application on my agenda to attend technical sessions and ask questions of Esri staff. I learned a lot, I learned what I needed, and I came home inspired to plan out and fire up new services and a new Open Data site.
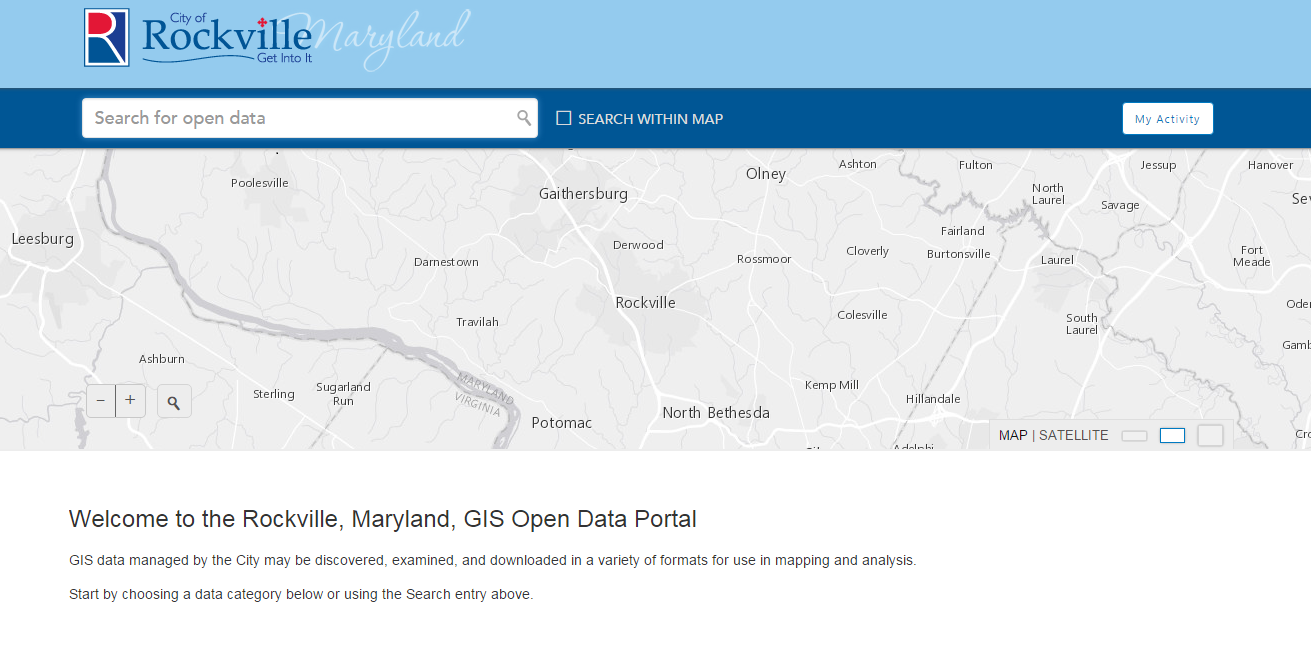
Within a short matter of days I had everything I wanted in place and was able to retire a burdensome and feature-bare GIS download page on the City of Rockville website and point to the new Open Data site in its place. Two days later, Rockville’s Open Data site was recognized in an encouraging Tweet by Esri’s Bern Szukalski. When Bern says, “all orgs should be doing this,” it seems fitting to share my work.
First, a brief backstory. When Esri released the ArcGIS Online Open Data application to the public in early 2014, I was enthusiastic about the concept. But, for a variety of reasons, the execution, the tools for configuration, and the unkempt look of the data services I fed to it gave me fits. As an alternative to our already existing GIS download page, which required manually creating and then packaging various data formats into zip files, Esri’s Open Data seemed to have a lot of promise, but I felt that I had to reluctantly set it aside.
Time tends to be a supporting ally to applications in these situations. Since its introduction, Open Data has achieved a notable degree of improvement and acceptance, and I took note. With the State of Maryland and the District of Columbia conspicuously on board, it was time to reconsider Open Data.
What I learned at the Esri UC distilled down to the essentials the extensive Open Data documentation provided by Esri and supplemented that with some useful tips. The steps below describe what I did to publish a serviceable yet customized site.
These references will be helpful:
- ArcGIS Open Data documentation pages, Prepare Your Data and Server Configuration Details
- Rockville GIS Open Data Site Design Layout How-To
We do have our own ArcGIS Server available, so our services live there, but the same results can be accomplished with services hosted on ArcGIS Online.
To learn how to publish your own open data site follow the link below.


